Apple Pay Guide
Detailed instructions on adding your Arctic Pay card to Apple Wallet for convenient contactless payments on iPhone, Apple Watch, iPad, and Mac.
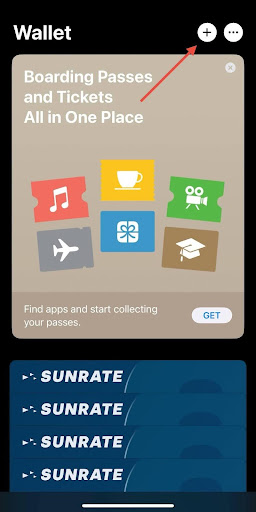
🍎 What is Apple Pay?
Apple Pay is a secure and convenient contactless payment method that lets you make purchases in stores, apps, and on the web. With your Arctic Pay card added to Apple Wallet, you can pay with a simple tap of your iPhone or Apple Watch.
Contactless
Pay with a tap of your device
Secure
Face ID, Touch ID protection
Fast
Faster than card payments
Private
Your card numbers are never shared
📋 Requirements
Compatible Devices:
- iPhone 6 and later
- Apple Watch (all models)
- iPad Pro, iPad Air 2, iPad mini 3 and later
- Mac with Touch ID or Apple Watch
What You Need:
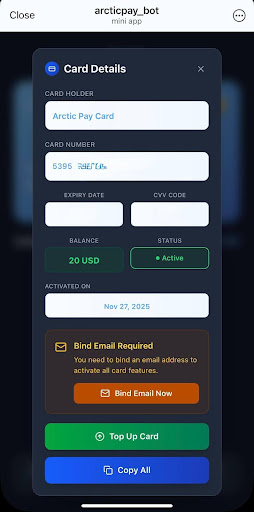
- Active Arctic Pay account
- Virtual card created in Arctic Pay
- Latest iOS/iPadOS/watchOS version
- Apple ID signed in to iCloud
📖 Step-by-Step Instructions


🚀 Quick Start Guide
Open Arctic Pay App
Launch the Arctic Pay application and navigate to your cards section. Select the virtual card you want to add to Apple Pay.
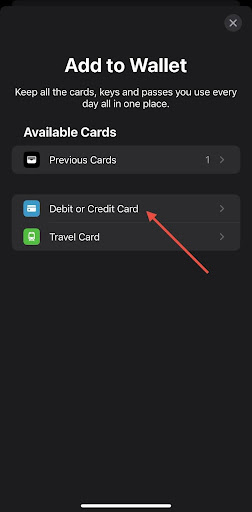
Tap "Add to Apple Wallet"
Look for the "Add to Apple Wallet" button on your card details screen and tap it. This will open the Wallet app automatically.
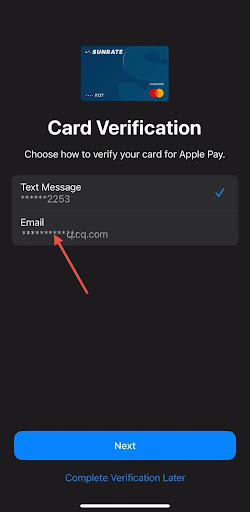
Verify & Complete
Follow the on-screen instructions to verify your card. You may need to enter a verification code sent to your phone or email.
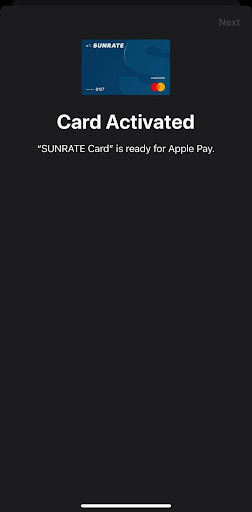
Start Using Apple Pay
Once verified, your card is ready! Double-click the side button on iPhone or double-tap on Apple Watch to pay in stores.
💡 Helpful Tips
- 1
Set your Arctic Pay card as default in Wallet settings to use it automatically for all payments
- 2
You can add the same card to multiple devices — all your Apple devices can use the same Arctic Pay card
- 3
For contactless payments, hold your device near the payment terminal until you see a checkmark and feel a gentle tap
- 4
If you lose your device, use Find My to put it in Lost Mode — this suspends Apple Pay instantly
- 5
Check transaction history in Arctic Pay app — all Apple Pay transactions appear there in real-time